
你是否曾经想过如何备份和还原 Ubuntu 或 Debian 系统?Timeshift 是一款自由开源工具,可让你创建文件系统的增量快照。你可以使用 RSYNC 或 BTRFS 两种方式创建快照。

让我们深入研究并安装 Timeshift。在本教程,我们将安装在 Ubuntu 18.04 LTS 系统上。
在 Ubuntu / Debian Linux 上安装 TimeShift
TimeShift 尚未正式托管在 Ubuntu 和 Debian 仓库中。考虑到这一点,我们将运行以下命令来添加 PPA:
# add-apt-repository -y ppa:teejee2008/ppa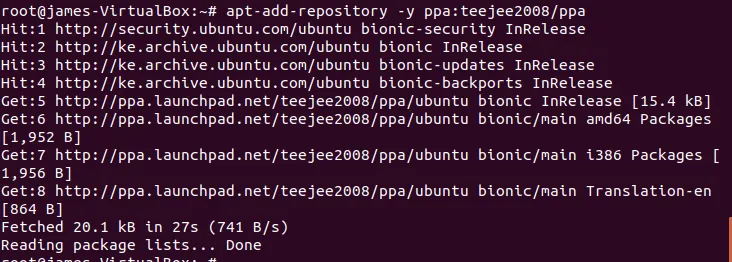
接下来,使用以下命令更新系统软件包:
# apt update成功更新系统后,使用以下 apt 命令安装 Timeshift:
# apt install timeshift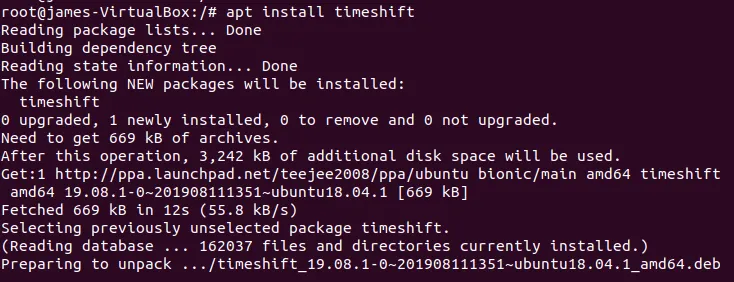
准备备份存储设备
最佳实践要求我们将系统快照保存在系统硬盘之外的单独的存储卷上。对于本指南,我们将使用 16GB 闪存作为第二个驱动器,并在该驱动器上保存快照。
# lsblk | grep sdb
为了将闪存用作快照的备份位置,我们需要在设备上创建一个分区表。运行以下命令:
# parted /dev/sdb  mklabel gpt
# parted /dev/sdb  mkpart primary 0% 100%
# mkfs.ext4  /dev/sdb1
在 USB 闪存上创建分区表后,我们可以开始创建文件系统的快照!
使用 Timeshift 创建快照
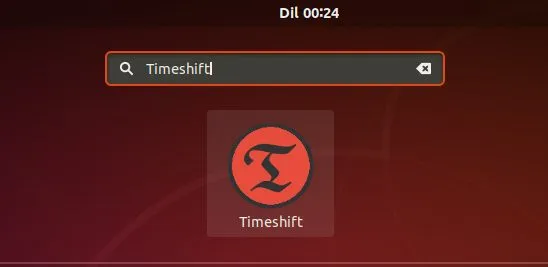
要启动 Timeshift,使用应用程序菜单搜索 “Timeshift”。
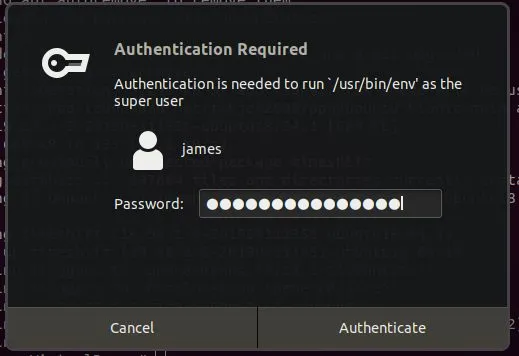
单击 Timeshift 图标,系统将提示你输入管理员密码。提供密码,然后单击验证。
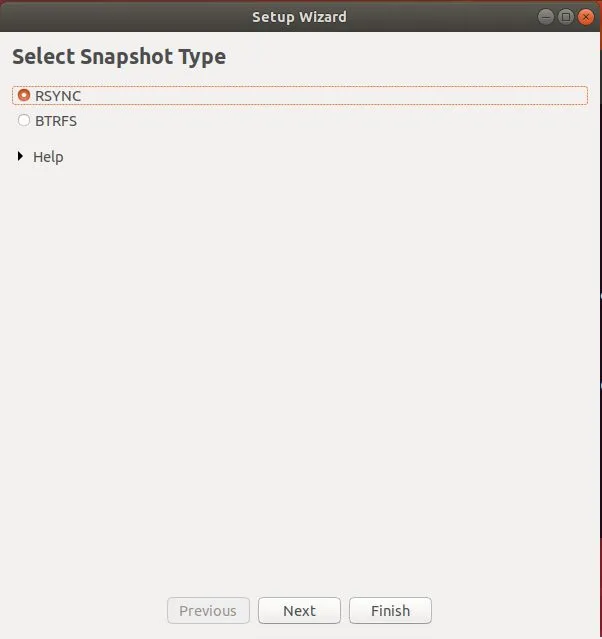
接下来,选择你喜欢的快照类型。
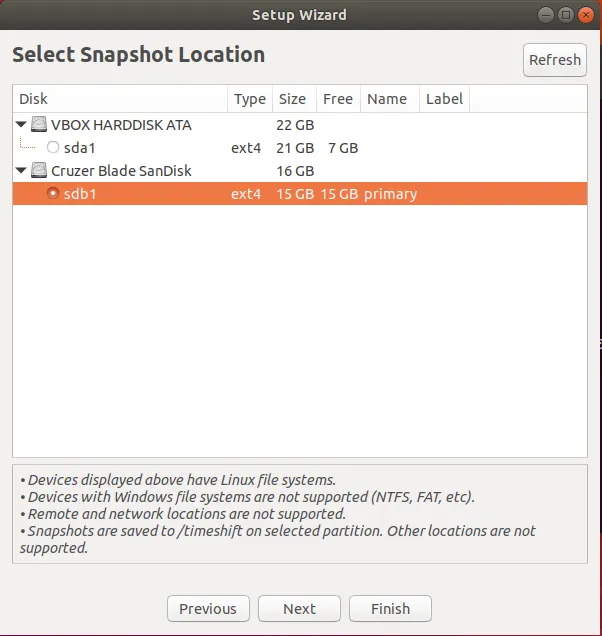
点击 “Next”。选择快照的目标驱动器。在这里,我的位置是标记为 /dev/sdb 的外部 USB 驱动器。
接下来,定义快照级别。级别是指创建快照的时间间隔。你可以选择每月、每周、每天或每小时的快照级别。
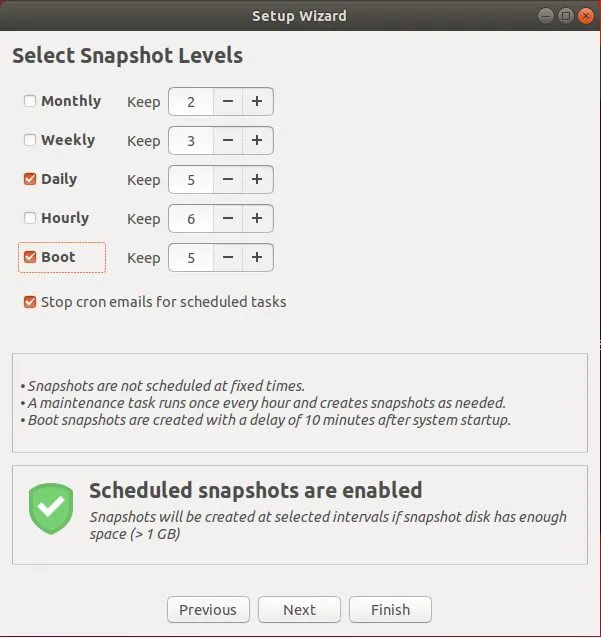
点击 “Finish”。
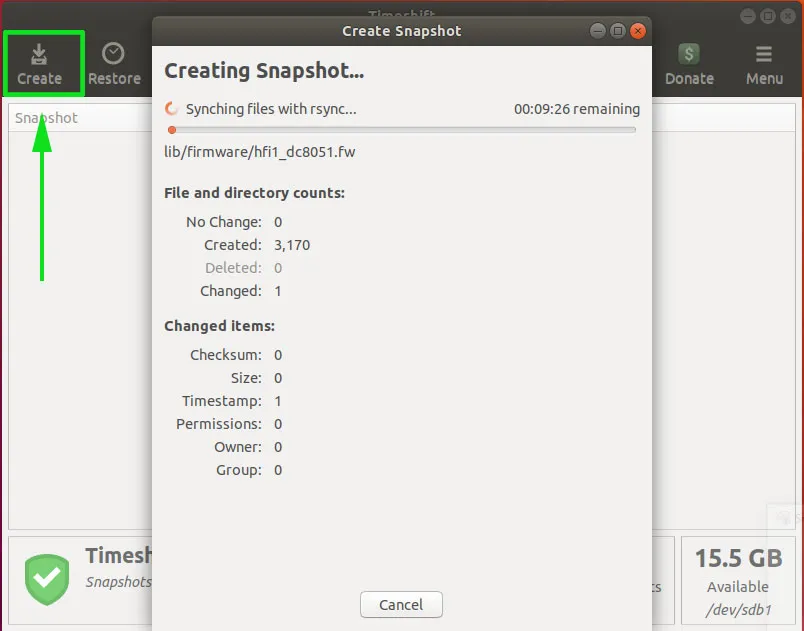
在下一个窗口中,单击 “Create” 按钮开始创建快照。此后,系统将开始创建快照。
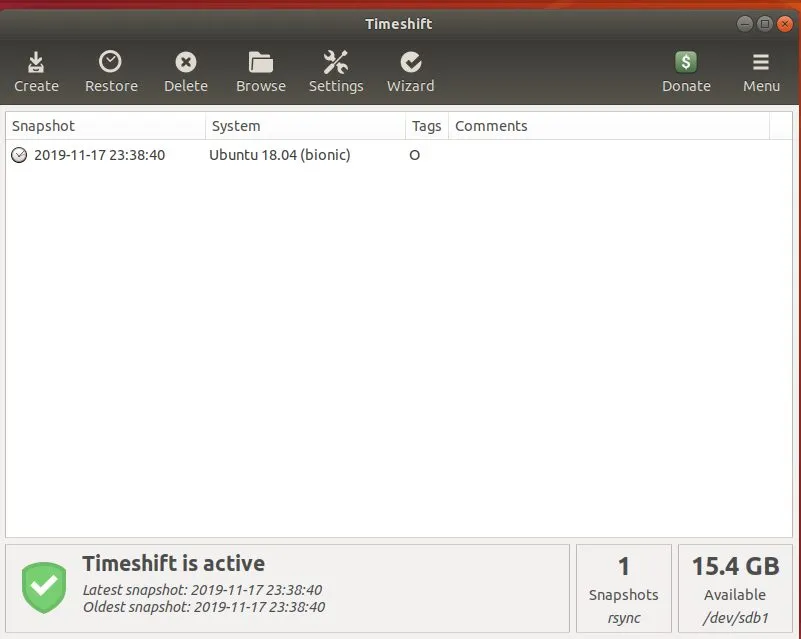
最后,你的快照将显示如下:
从快照还原 Ubuntu / Debian
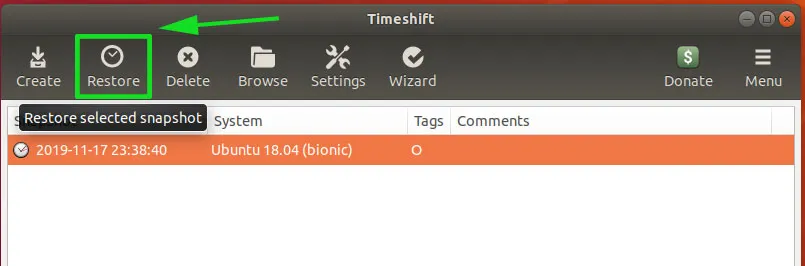
创建系统快照后,现在让我们看看如何从同一快照还原系统。在同一个 Timeshift 中,单击快照,然后单击 “Restore” 按钮,如图所示。
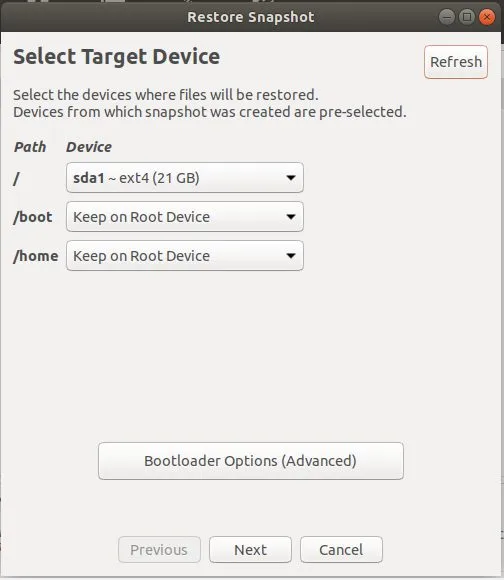
接下来,将提示你选择目标设备。保留默认选择,然后点击 “Next”。
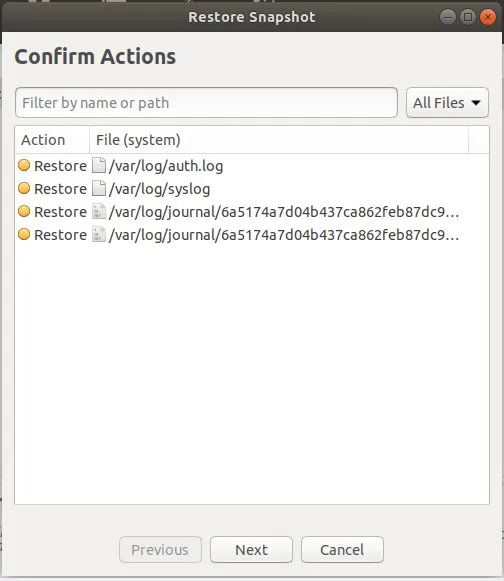
恢复过程开始之前,Timeshift 将会试运行。

在下一个窗口中,点击 “Next” 按钮确认显示的操作。
如图所示,你会看到警告和免责声明。点击 “Next” 初始化恢复过程。
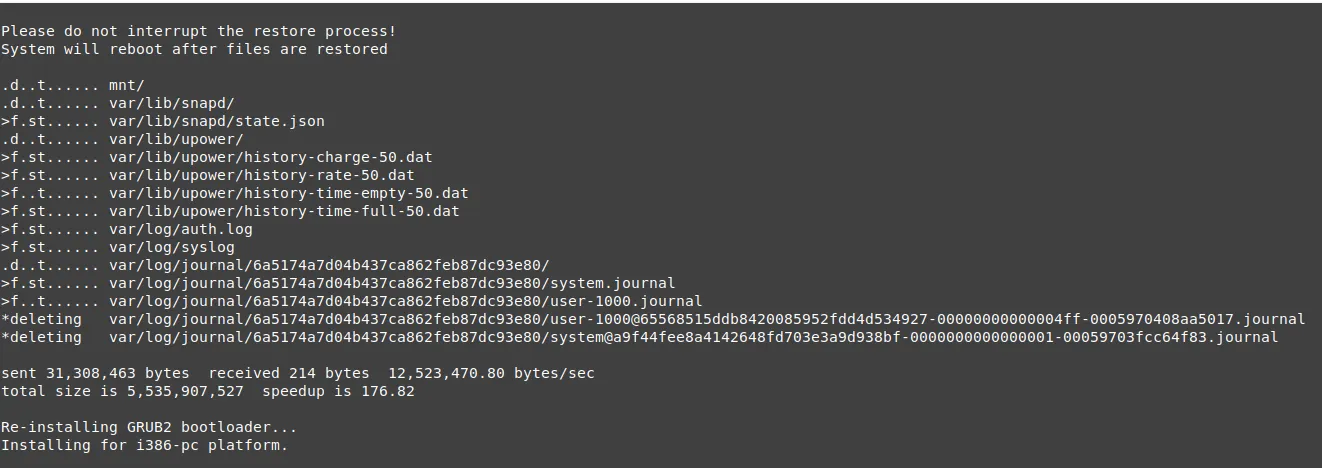
此后,将开始还原过程,最后,系统之后将重新启动到快照定义的早期版本。
总结
如你所见,使用 TimeShift 从快照还原系统非常容易。在备份系统文件时,它非常方便,并允许你在系统故障时进行恢复。因此,不要害怕修改系统或弄乱系统。TimeShift 使你能够返回到一切运行平稳的时间点。
via: https://www.linuxtechi.com/timeshift-backup-restore-ubuntu-linux/
作者:James Kiarie 选题:lujun9972 译者:geekpi 校对:wxy
发表回复