

技术兄弟们,大家好,在这篇文章中我们将介绍如何在 Ubuntu 22.04 中安装和使用 Wireshark。
Wireshark 是自由开源的、跨平台的、基于 GUI 的网络数据包分析器,可用于 Linux、Windows、MacOS、Solaris 等。它实时捕获网络数据包并以人类可读的格式呈现它们。它使我们能够监控微观层面的网络数据包。它还有一个名为 tshark 的命令行程序,它执行与 Wireshark 相同的功能,但通过终端而不是通过 GUI。
Wireshark 可用于网络故障排除、分析、软件和通信协议开发,也可用于教育目的。Wireshark 使用名为 pcap 的库来捕获网络数据包。
Wireshark 的功能
- 支持检查数百种协议
- 能够实时捕获数据包并保存它们以供以后离线分析
- 一些用于分析数据的过滤器
- 捕获的数据可以动态压缩和解压缩
- 支持多种数据分析文件格式,输出也可以保存为 XML、CSV、纯文本格式
- 可以从以太网、WiFi、蓝牙、USB、帧中继、令牌环等多种接口捕获数据
先决条件
- 预装 Ubuntu 22.04
- 具有 sudo 权限的本地用户
- 互联网连接
Wireshark 安装步骤
从 Ubuntu 仓库安装
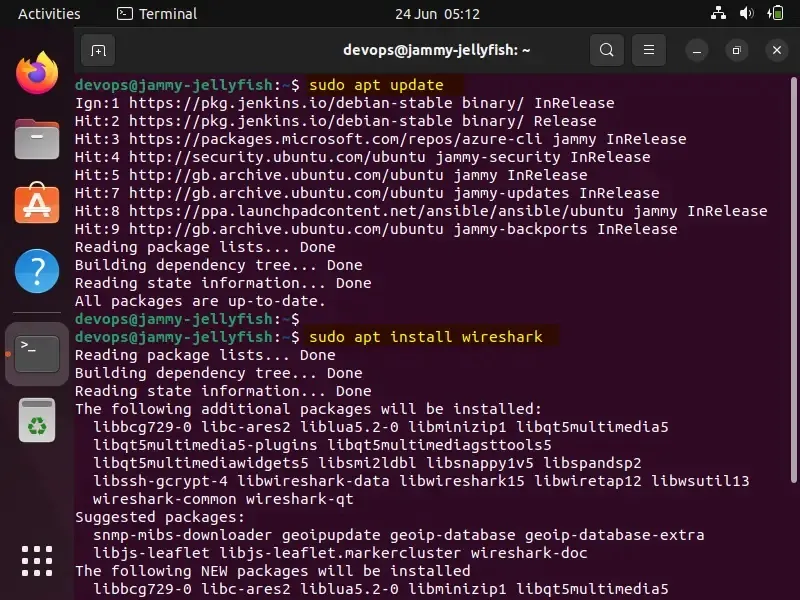
Wireshark 包可在默认的 Ubuntu 仓库中找到,并且可以使用以下命令简单地安装。但你可能无法获得最新版本的 wireshark。
$ sudo apt update
$ sudo apt install wireshark
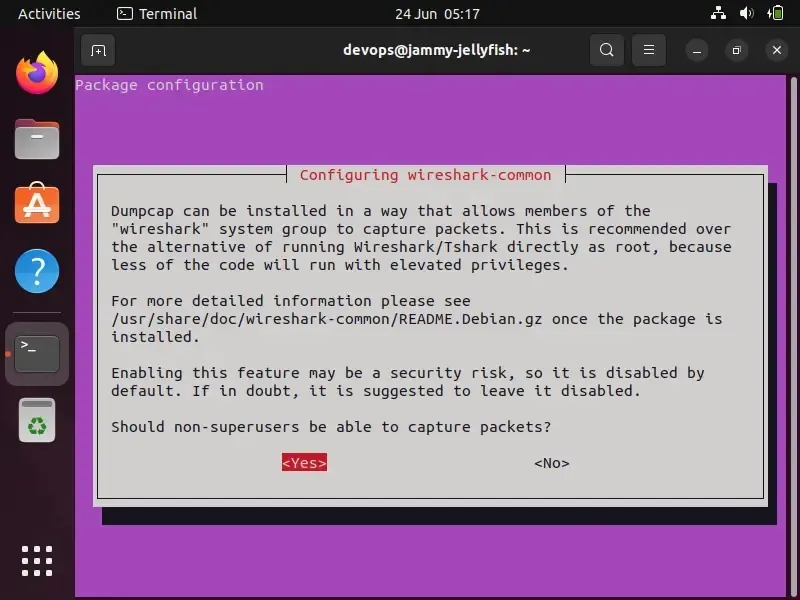
选择 “Yes” 允许非超级用户使用 Wireshark 捕获数据包:
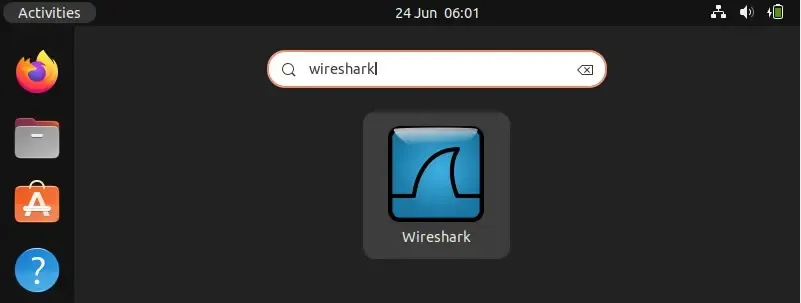
安装成功后,访问 Wireshare UI。从“ 活动 ”中搜索 “wireshark”,然后单击其图标。
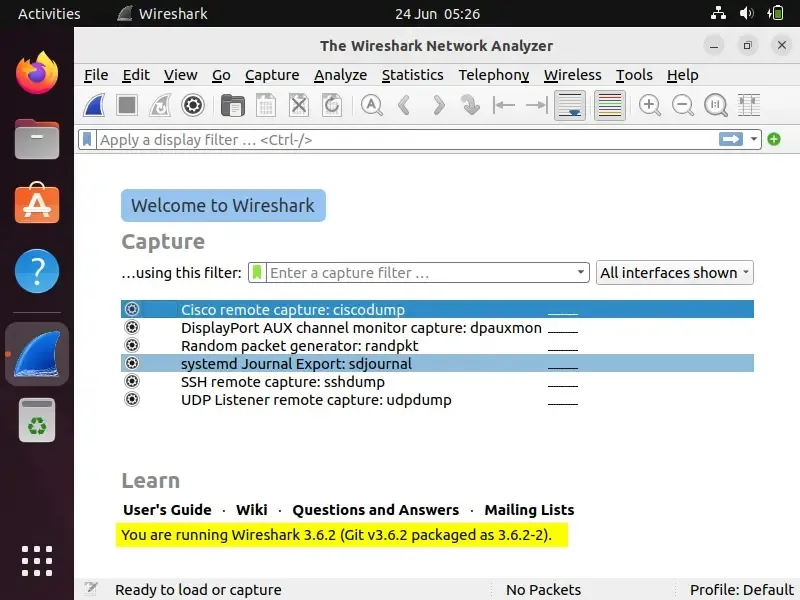
以上确认你的 Wireshark 安装已成功完成。
安装最新的版本
如果要安装最新版本的 Wireshark,我们必须使用以下 apt 命令启用官方 Wireshark 仓库:
$ sudo add-apt-repository ppa:wireshark-dev/stable
$ sudo apt update
现在,安装最新版本的 Wireshark,运行:
$ sudo apt install wireshark -y
安装 Wireshark 后,验证其版本:
$ wireshark --version

要允许普通用户使用 Wireshark 使用和捕获数据包,请运行以下命令:
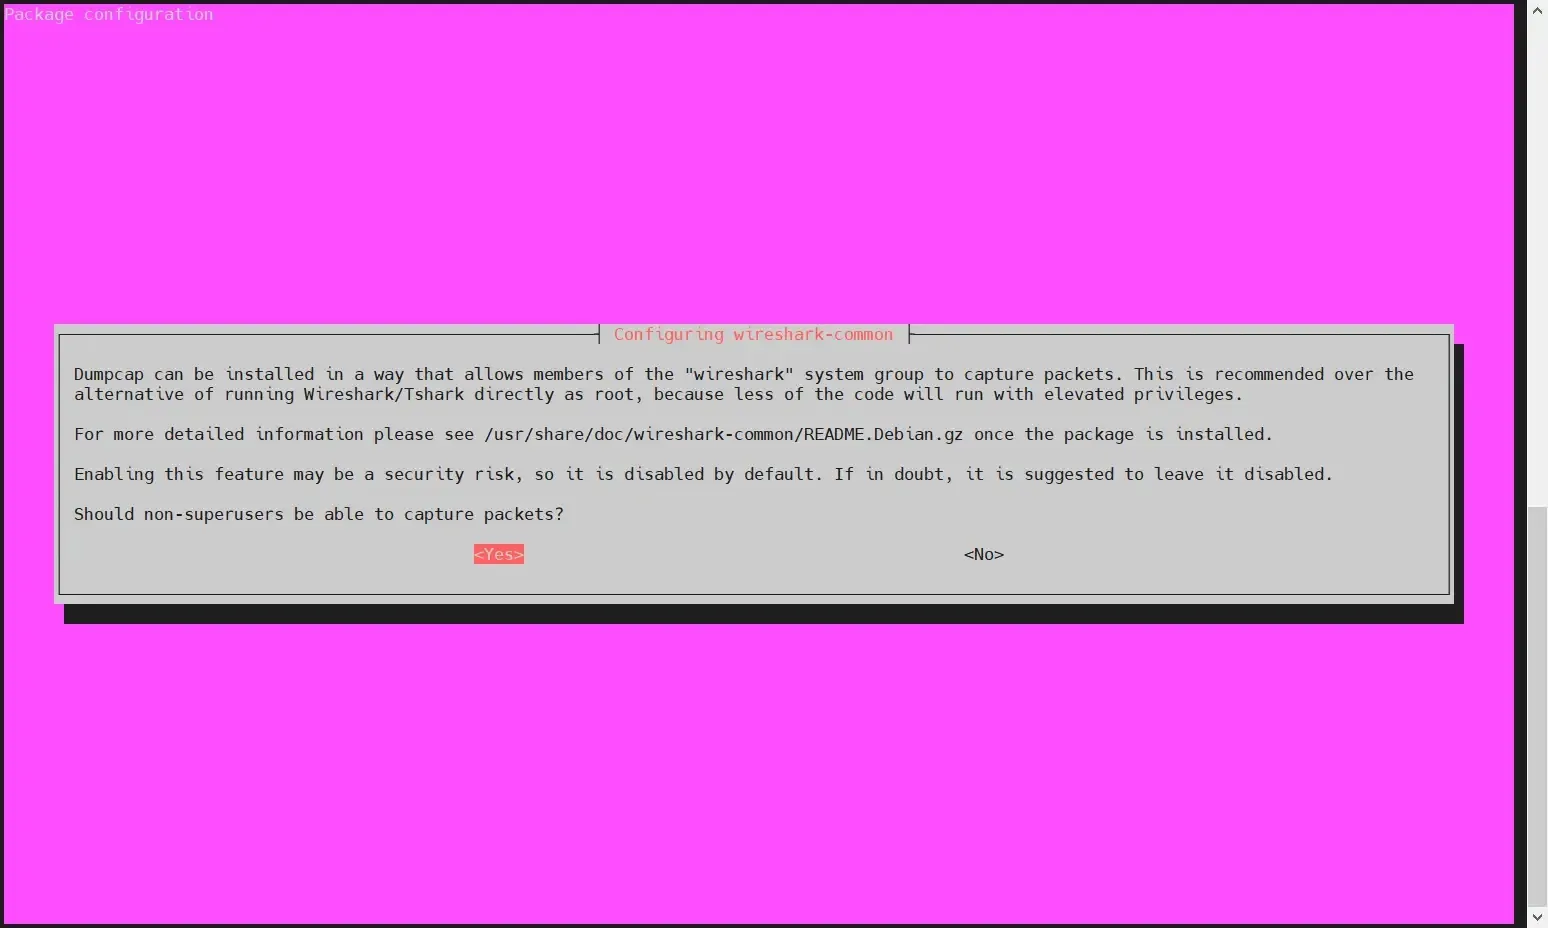
$ sudo dpkg-reconfigure wireshark-common
选择 “Yes” 并按回车键。
使用 usermod 命令将本地用户添加到 wireshark 组:
$ sudo usermod -aG wireshark $USER
$ newgrp wireshark
要使上述更改生效,请重新启动系统。
$ sudo reboot
使用 Wireshark 捕获数据包
启动 Wireshark,从“活动”->搜索 “wireshark”。
单击 Wireshark 图标,
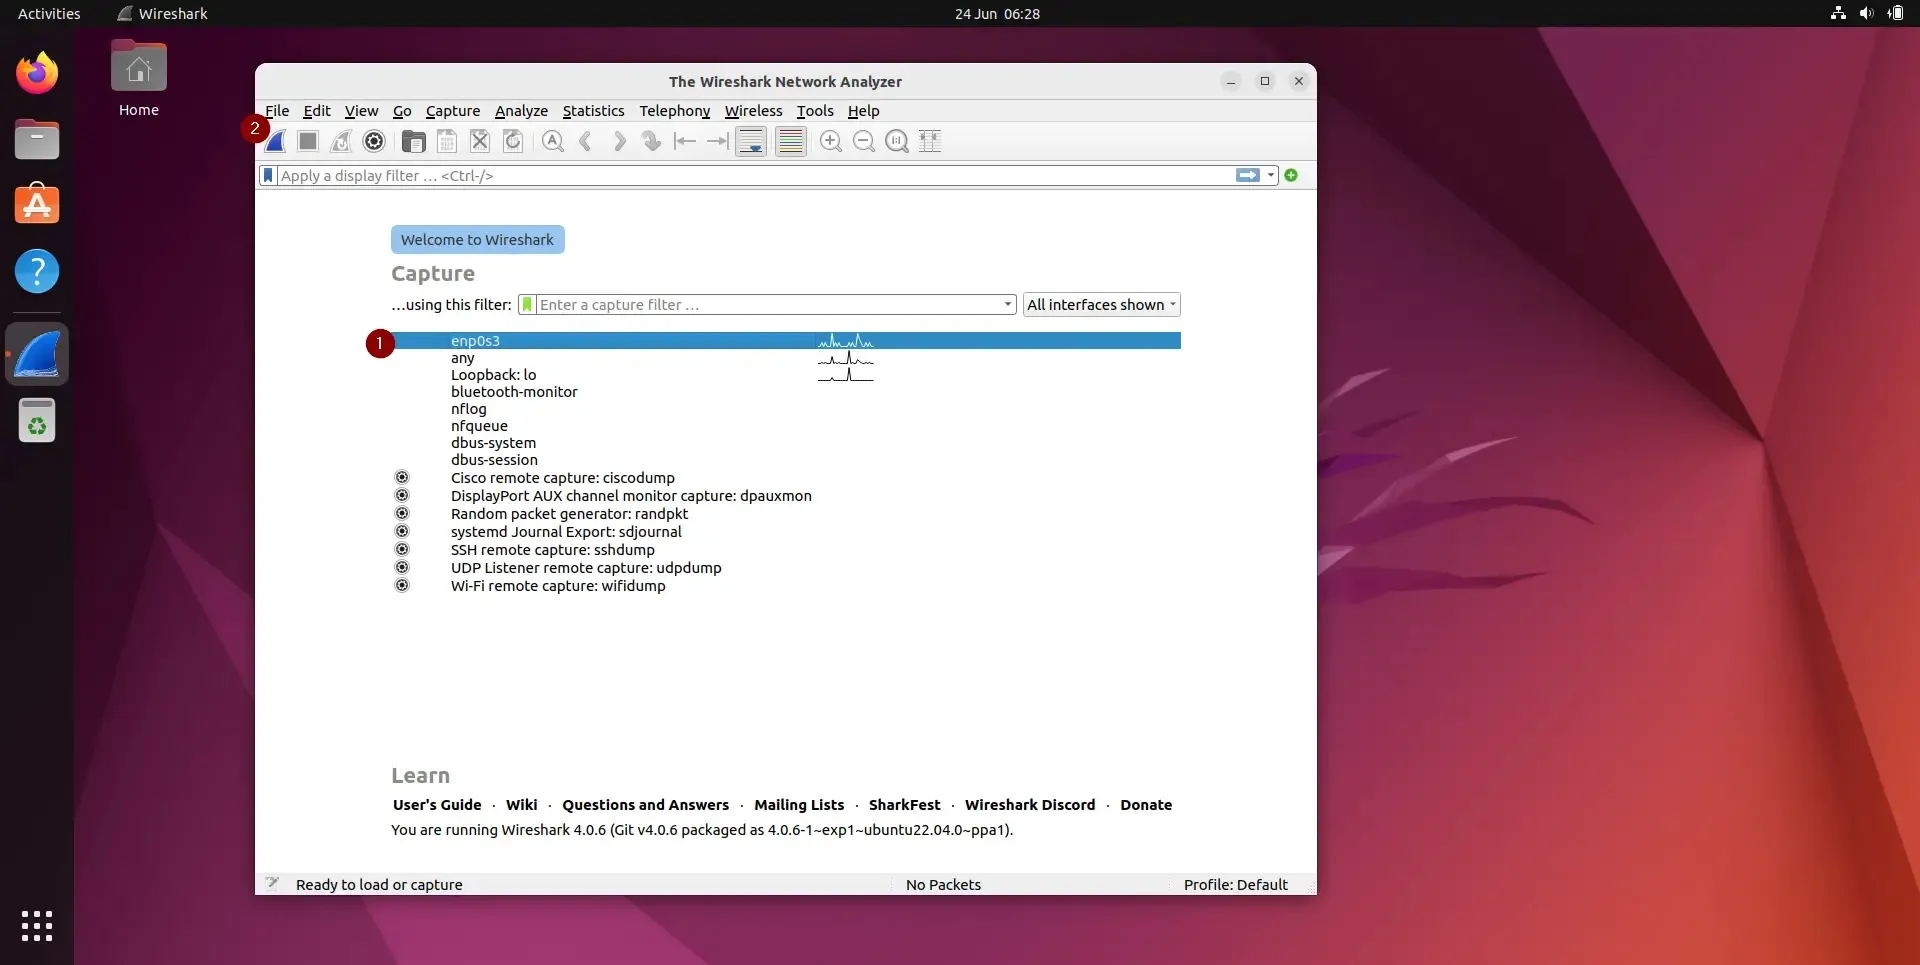
所有这些都是我们可以捕获网络数据包的接口。根据你系统上的界面,此页面可能会有所不同。
我们选择 “enp0s3” 来捕获该接口的网络流量。选择接口后,我们网络上所有设备的网络数据包开始填充(请参阅下面的截图):
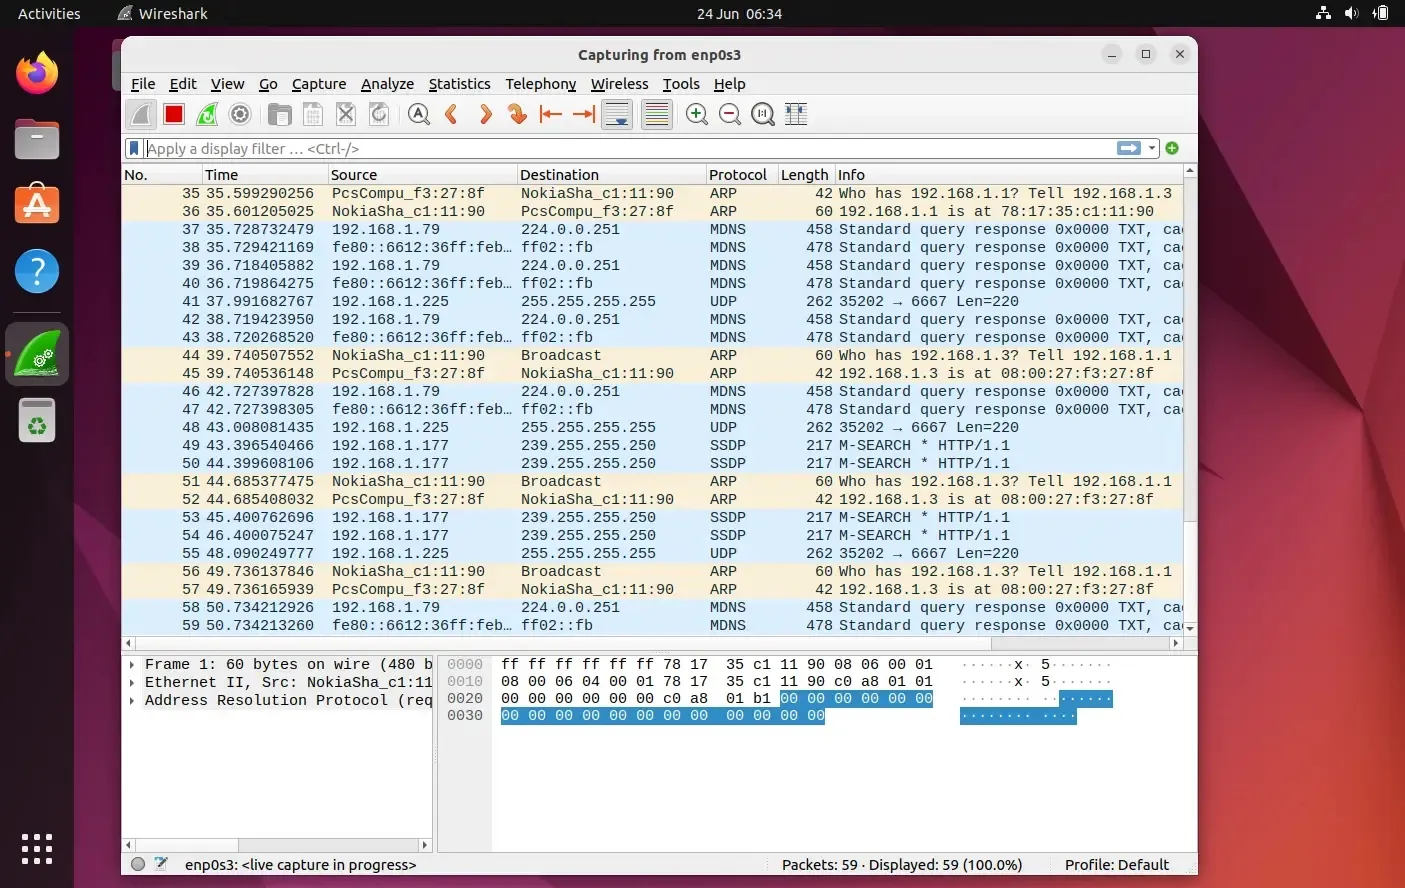
第一次看到此页面时,我们可能会被此屏幕中显示的数据淹没,并且可能会想到如何整理这些数据,但不用担心,Wireshark 的最佳功能之一就是它的过滤器。
我们可以根据 IP 地址、端口号对数据进行排序/过滤,还可以使用源和目标过滤器、数据包大小等,还可以将 2 个或更多过滤器组合在一起以创建更全面的搜索。我们可以在“ 应用显示过滤器 ”选项卡中编写过滤器,也可以选择已创建的规则之一。要选择预建过滤器,请单击“旗帜”图标,然后点击“应用显示过滤器”选项卡。
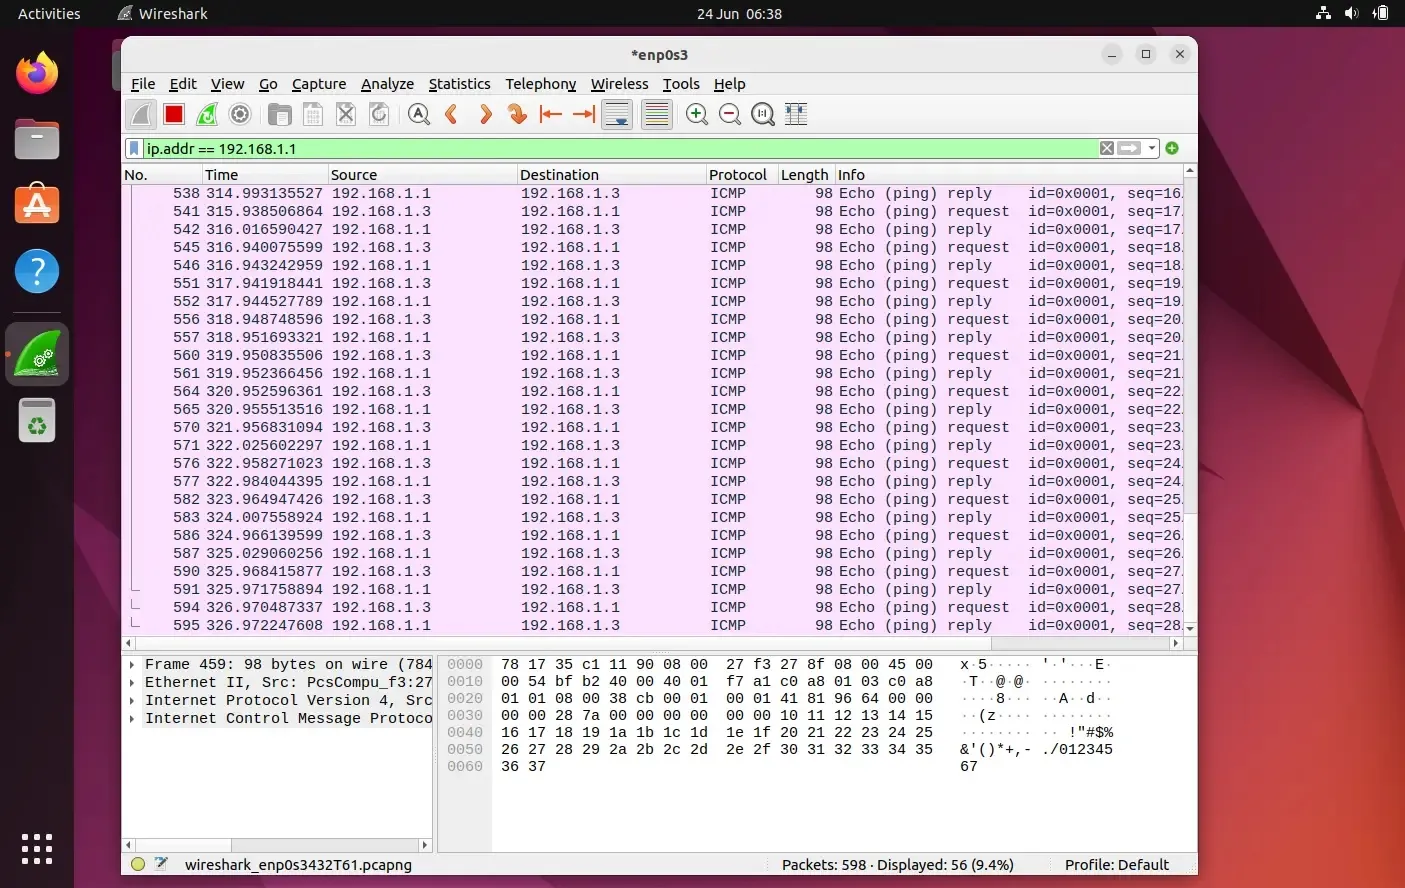
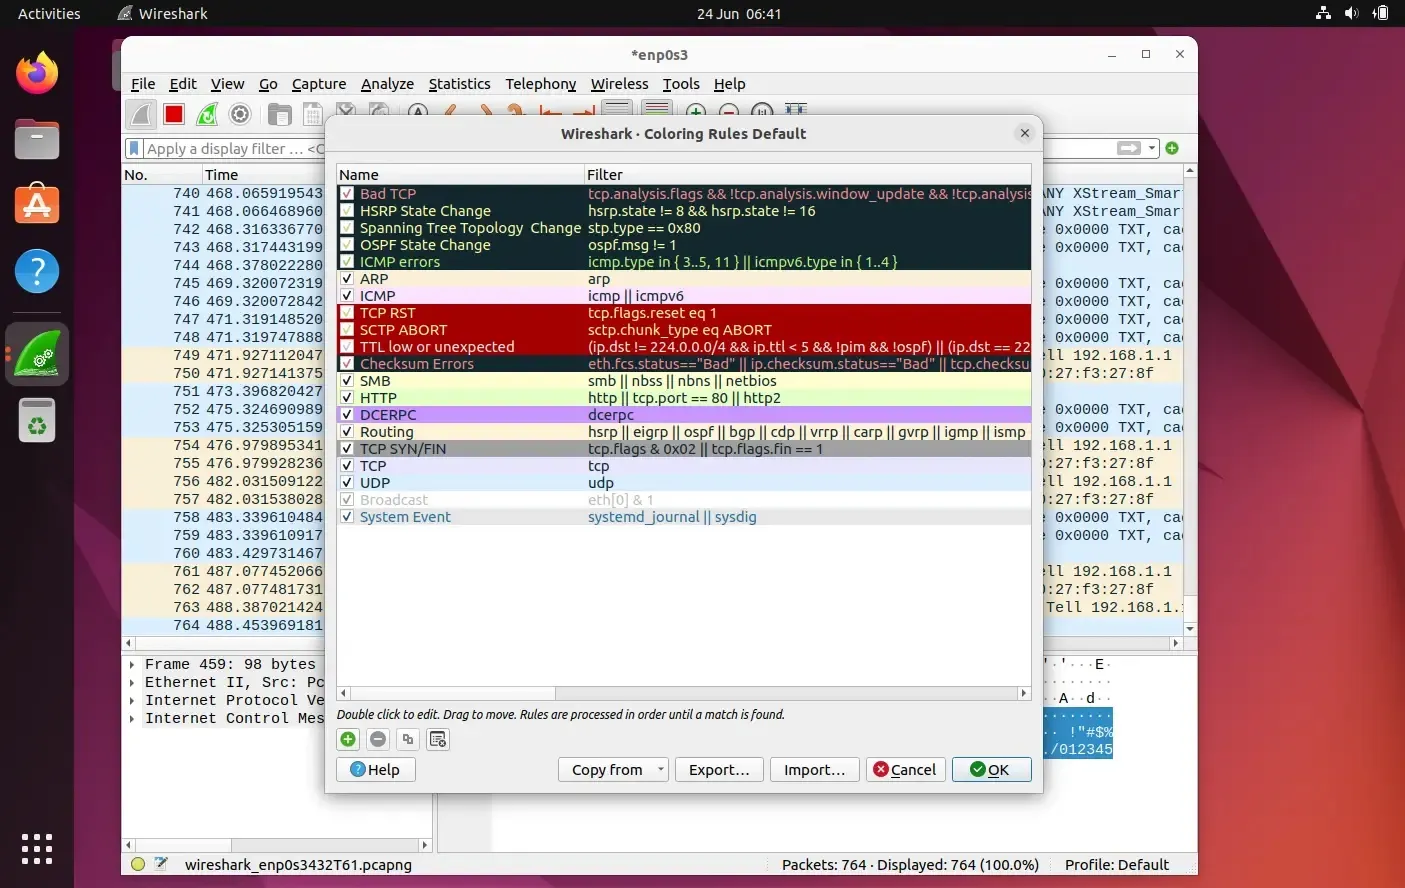
我们还可以根据颜色代码来过滤数据,默认情况下,浅紫色是 TCP 流量,浅蓝色是 UDP 流量,黑色标识有错误的数据包,要查看这些代码的含义,请单击“ 查看 ”->“ 颜色规则 ”,我们也可以更改这些代码。
获得所需的结果后,我们可以单击任何捕获的数据包以获取有关该数据包的更多详细信息,这将显示有关该网络数据包的所有数据。
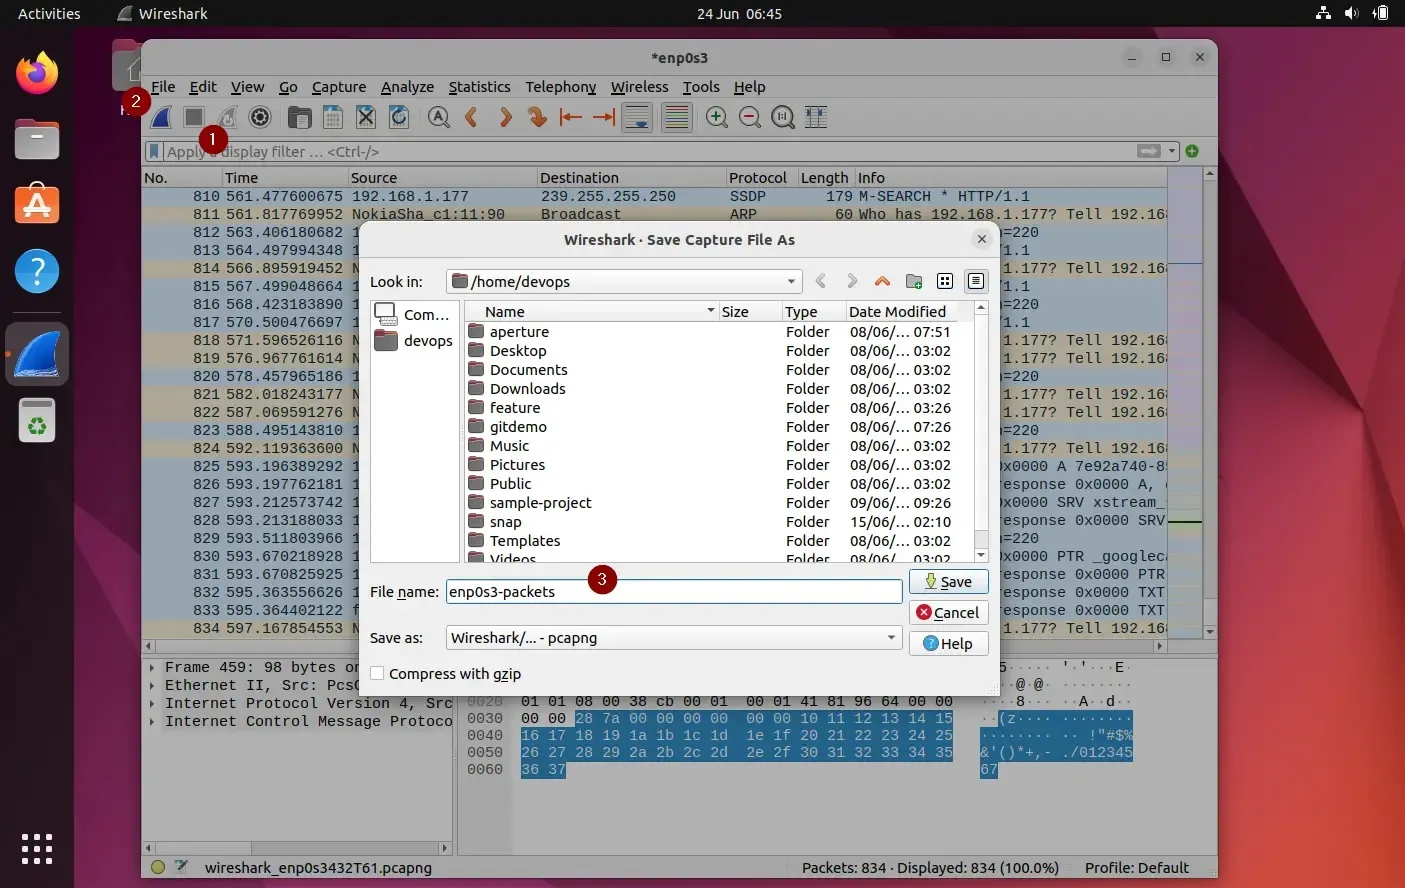
要停止捕获数据包,请单击红色停止按钮,然后将捕获的数据包保存到文件中。
总结
Wireshark 是一款非常强大的工具,需要一些时间来适应和掌握它,这篇文章将帮助你开始使用。请随时在下面的评论栏中提出你的疑问或建议。
(题图:MJ/63c09e75-a3e7-4dbf-ac6f-0233bdd34ad8)
via: https://www.linuxtechi.com/install-use-wireshark-ubuntu/
作者:Pradeep Kumar 选题:lkxed 译者:geekpi 校对:wxy
发表回复