

FreeBSD是全文本模式的系统,然而有些新用户想要使用GUI桌面环境。这个教程就是帮助你在Freebsd 10.1中安装Mate桌面。
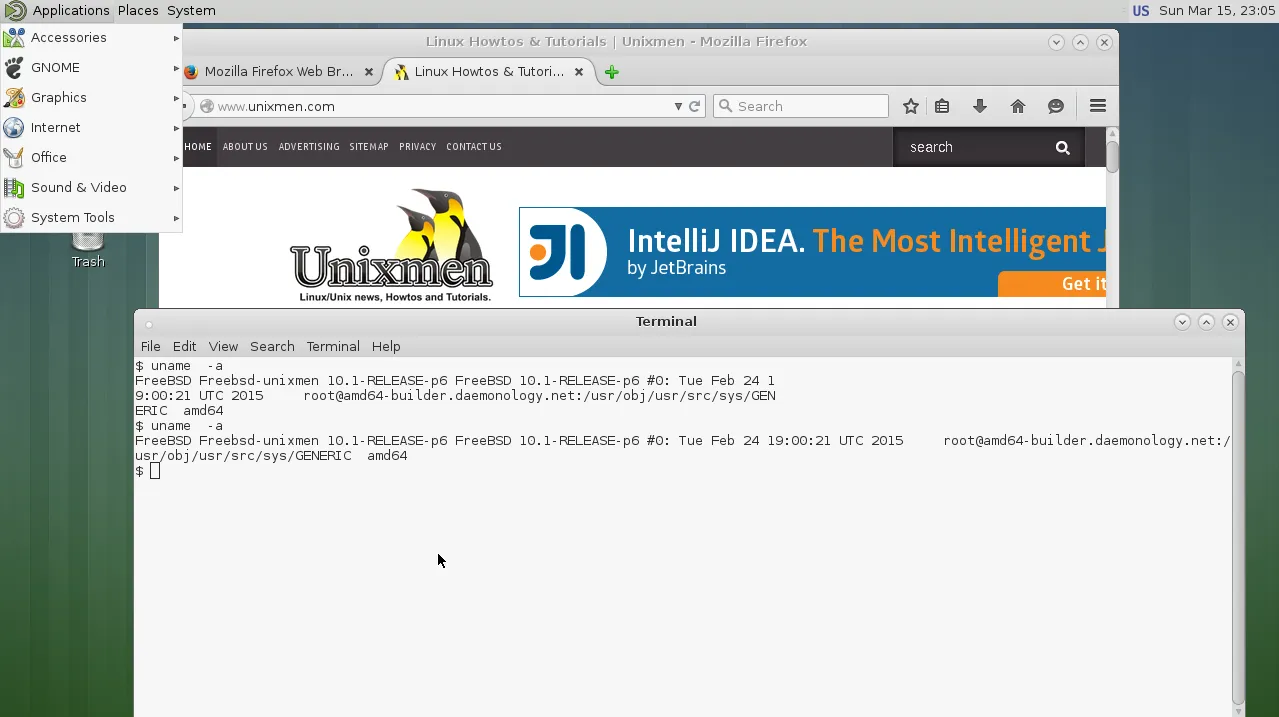
下面是我的系统细节:
root@Freebsd-unixmen:~ # uname -a
FreeBSD Freebsd-unixmen 10.1-RELEASE FreeBSD 10.1-RELEASE #0 r274401: Tue Nov 11 21:02:49 UTC 2014     [email protected]:/usr/obj/usr/src/sys/GENERIC  amd64
root@Freebsd-unixmen:~
要在FreeBSD 10.1 中开始安装Mate桌面,按照下面的步骤。
pkg install xf86-video-fbdev mate-desktop mate xorg
在 /etc/rc.conf 中加入下面的行
moused_enable="YES"
dbus_enable="YES"
hald_enable="YES"
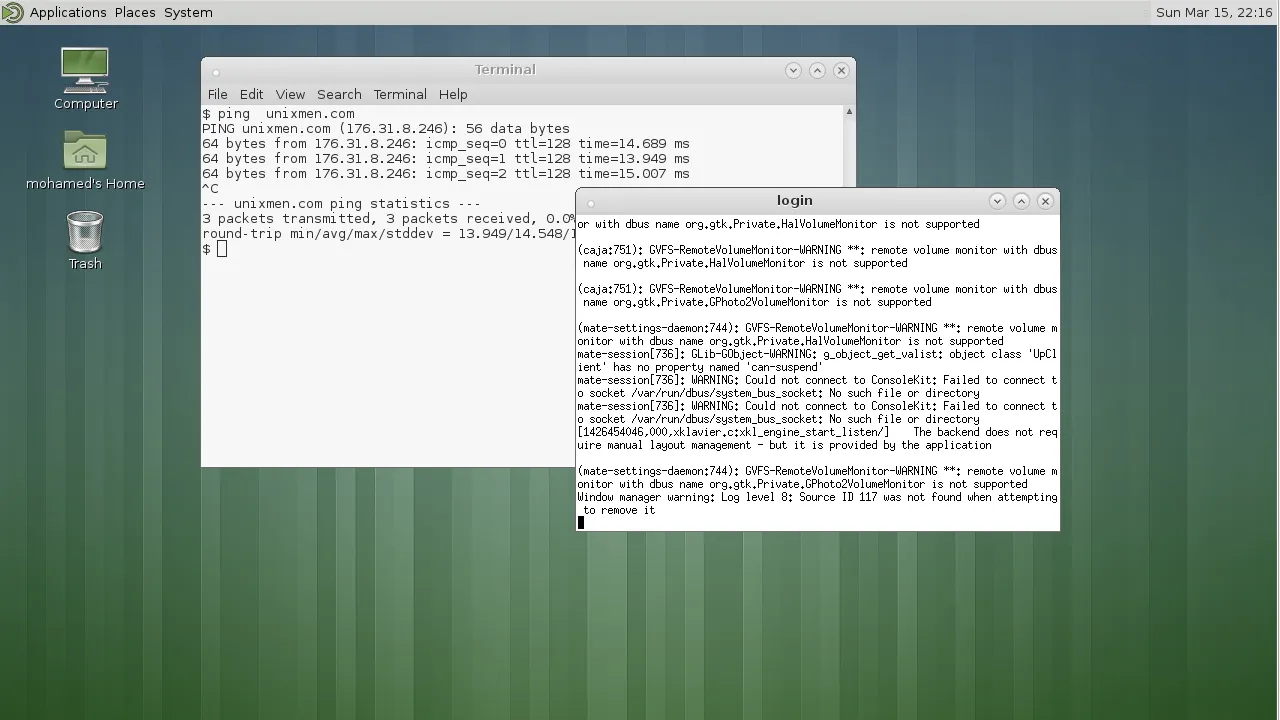
测试安装
xinit mate-session
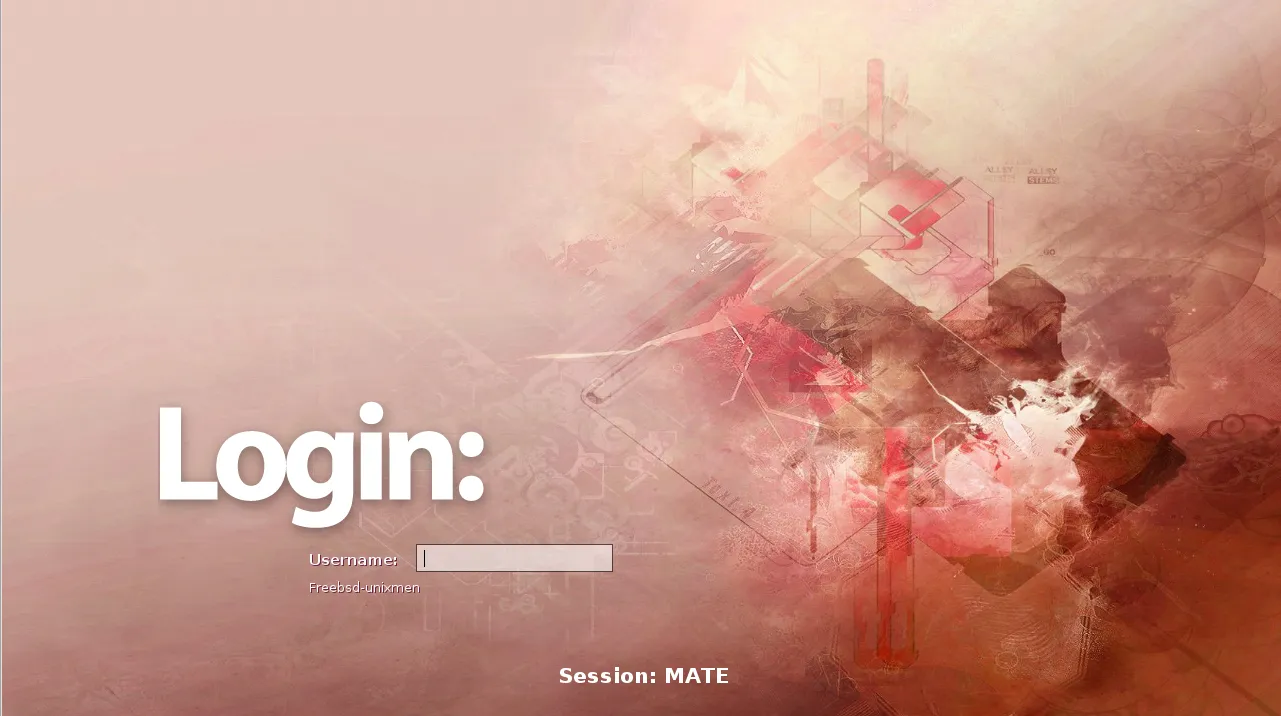
Mate本身没有显示管理器。因此我们会使用其他的显示管理器如XDM、GDM、slim等等来作为登录管理器。这里让我们看看如何在Mate桌面中配置Slim DM
安装 Slim
pkg install slim
在/etc/rc.conf中加入下面的行:
slim_enable="YES"
在用户的家目录下的.xinitrc文件加入下面的行。
exec mate-session
重启电脑。现在在你登录Mate时就会进入Slim登录界面了。
就是这样。干杯!
via: http://www.unixmen.com/install-mate-desktop-freebsd-10-1/
作者:M.el Khamlichi 译者:geekpi 校对:wxy
发表回复